

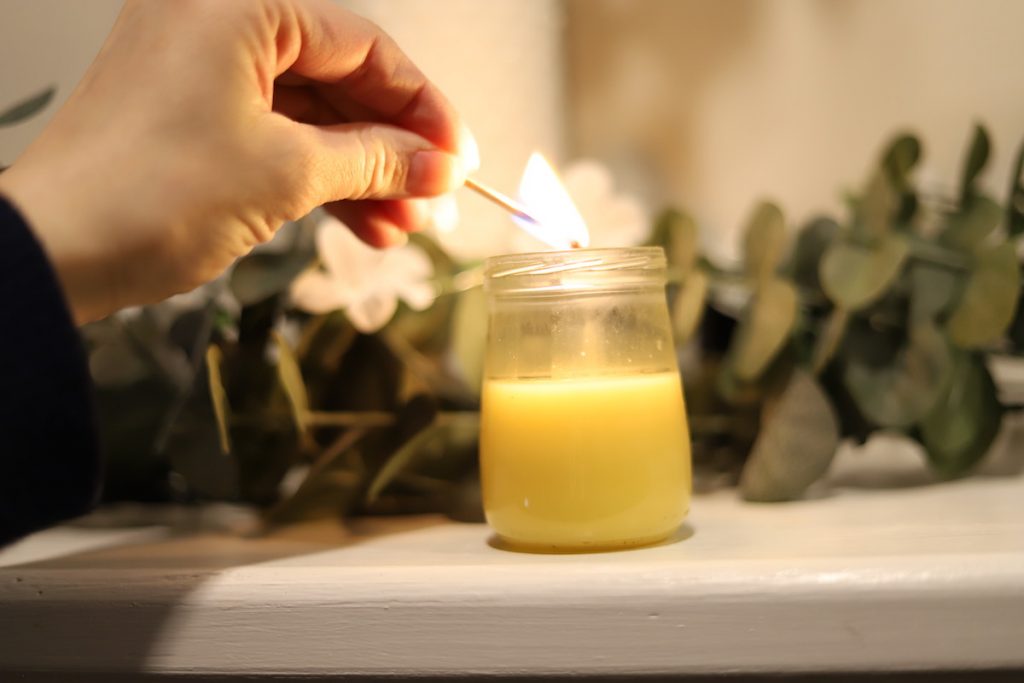
Don’t you love the warm glow of a beeswax candle? There really is a subtle difference in the color, aroma, and the ambiance that is created when you’re using a beeswax candle. So welcoming, homey, calming, and somehow more grounding than other types of candles. But did you know that they’re actually really simple to make?! Try making them yourself the easy way! With just a few supplies, you can have your own homemade beeswax candles ready to burn in 24hrs!
Supplies
You only need a few supplies to be ready to start your own beeswax candles!! I grabbed supplies and made these on a whim because I was inspired and I am a believer in doing whatever inspires you in the moment; however, my process can be simplified even further. I’ll walk you through both options! I’ve linked products that are similar to what I am using below.
First, you’ll need some containers… Either purchase or, what I like to do is gather some glass containers like mason jars or small bowls or mugs from around the house. I’m using baby food jars with the labels removed.
Next, beeswax. You can buy beeswax in a block or in little pellets. I used a block and oh my goodness, if you want to build some muscles while making your candles, use a block. Talk about an arm workout! It is definitely simpler to buy beeswax in pellet form.
Lastly, your candles will need a wick. You can buy individual wicks with metal piece on the bottom that are very easy to place or you can buy it in a spool. I used a spool with little difficulty, but individuals would definitely be the easiest route.
Skewers or pencils or something to wrap the wicks to hold them in place.
Optional: You can use essential oils to add a scent to your candles if desired. My favorites are Lavender, Wild Orange, and Wild Orange and Peppermint together.
The Process
Preheat your oven to 200° F.
Prep
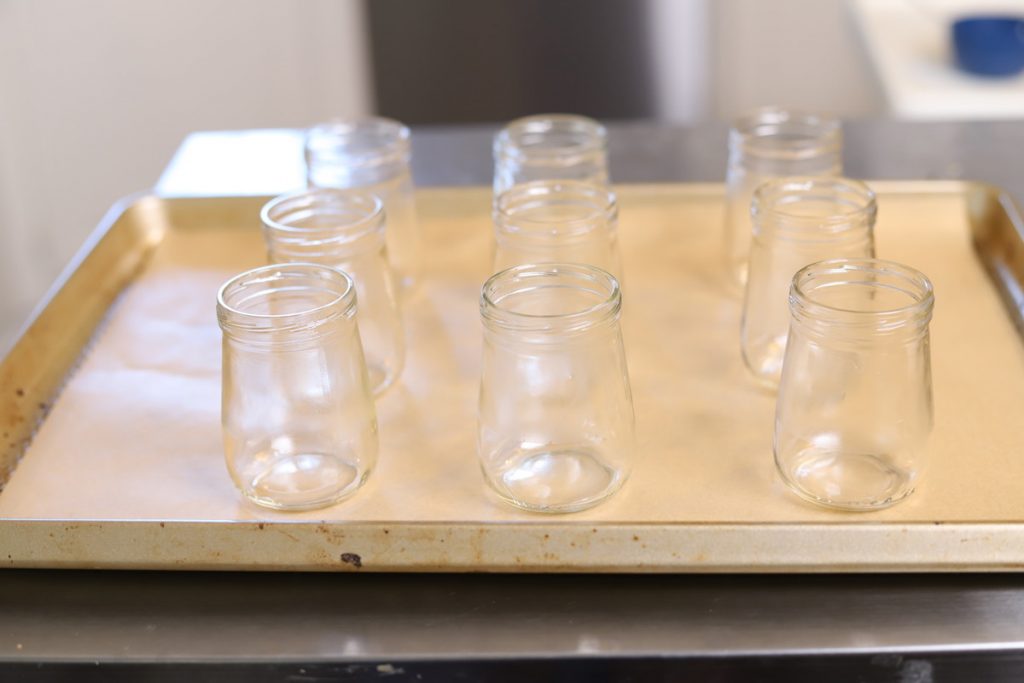
Line a baking sheet with parchment paper (just in case wax spills) and set up your jars.
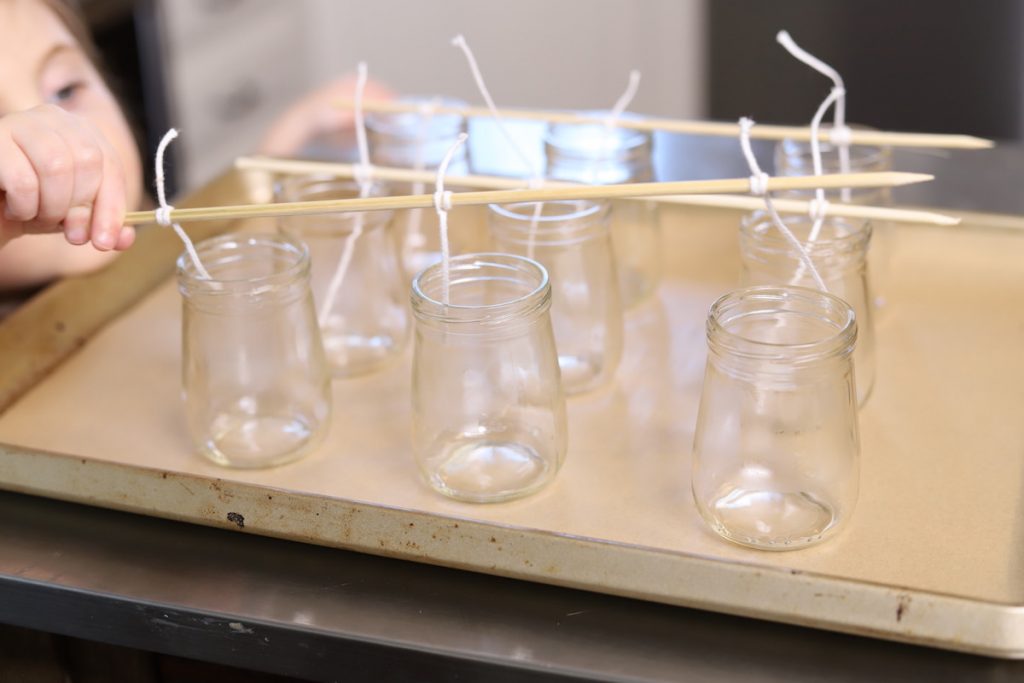
Next, ready your wicks. I wrapped wicks around kabob skewers and tested them in the jars.
Set your wicks aside for later.
I used a block of beeswax. Here is where you can get your arm workout… If you are using a block of beeswax, you’ll need to grate it. It is easy enough to do. Just pull out a box grater and get busy! BUT, you can skip this step by buying it in pellet form.
Make them!
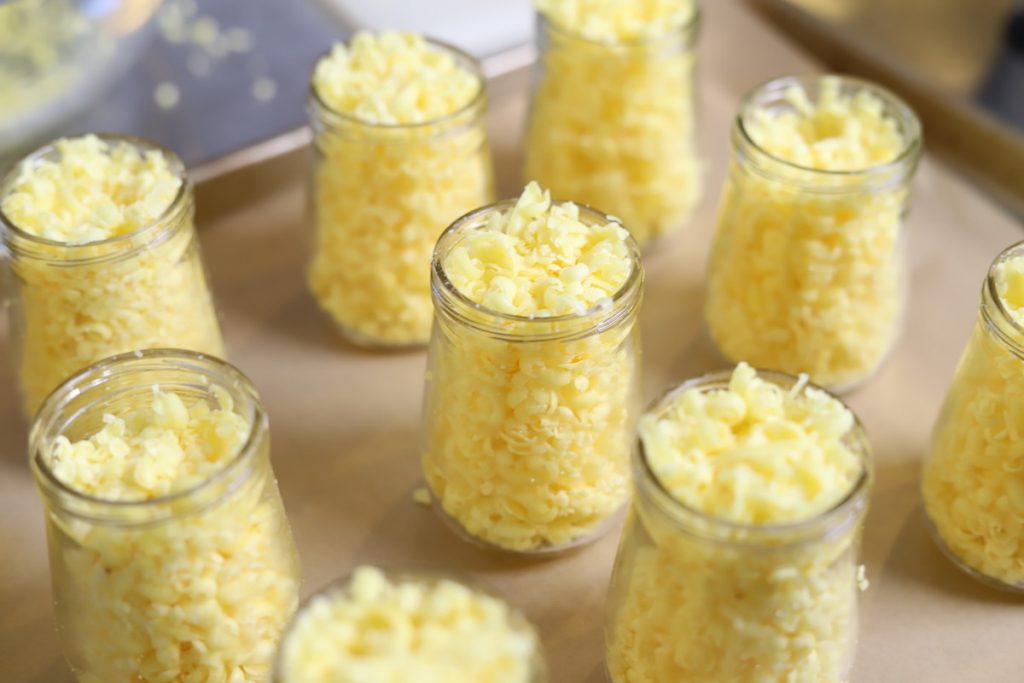
When you have grated the wax, fill your jars!
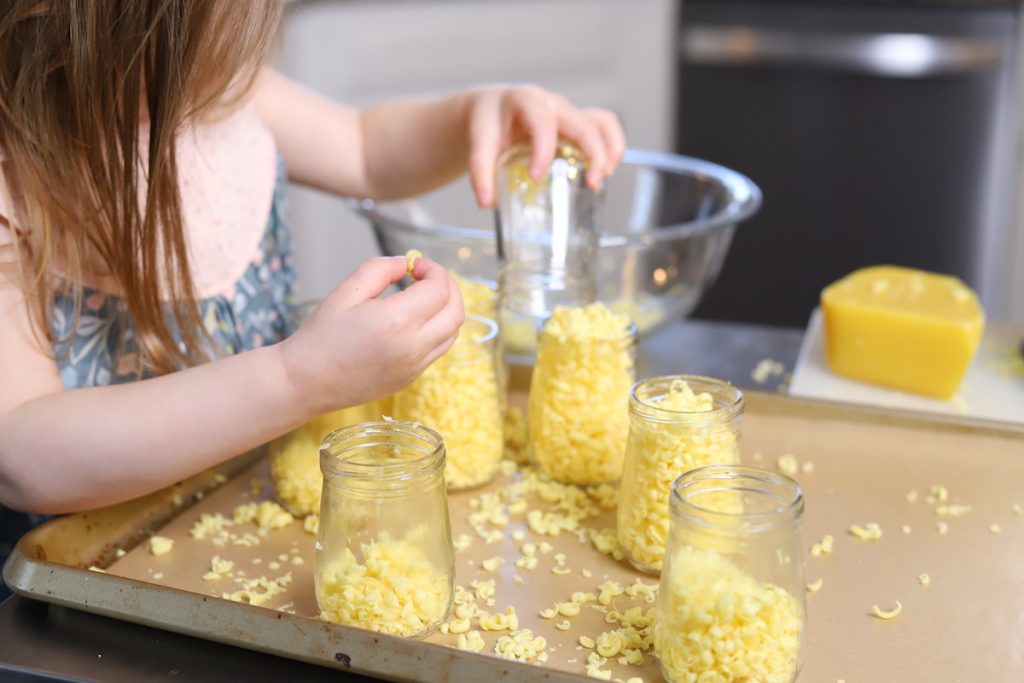
Now, when I started this process, I planned to have my kids occupied. In my mind, making candles was probably something that little hands could not help with and I needed to do it by myself, BUT I had one little one (my three year old) who kept coming into the kitchen. She was very interested in what I was doing and she obviously needed a little time with her Mama, so we found something for her to do! Candle making turned into sensory play and every time we light one of her candles she is so proud. It was really a great reminder to me that there are always ways to get little ones involved! So if you have any little helpers at home, this was a great task for them!
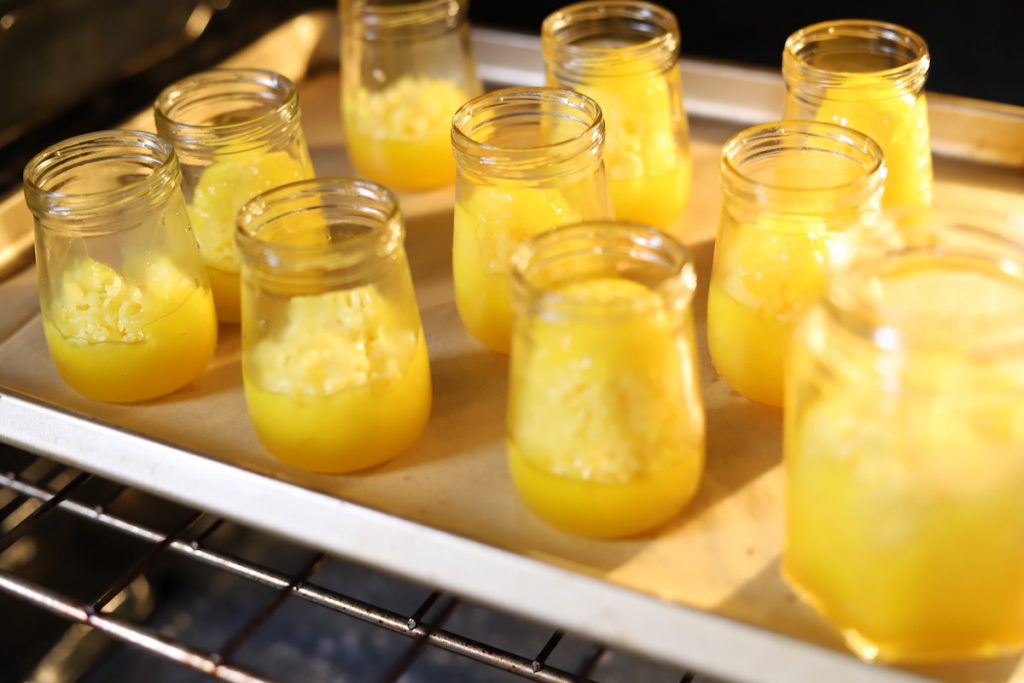
When they’re all filled, place the jars into your preheated oven for 1-2 hours and let the wax melt.
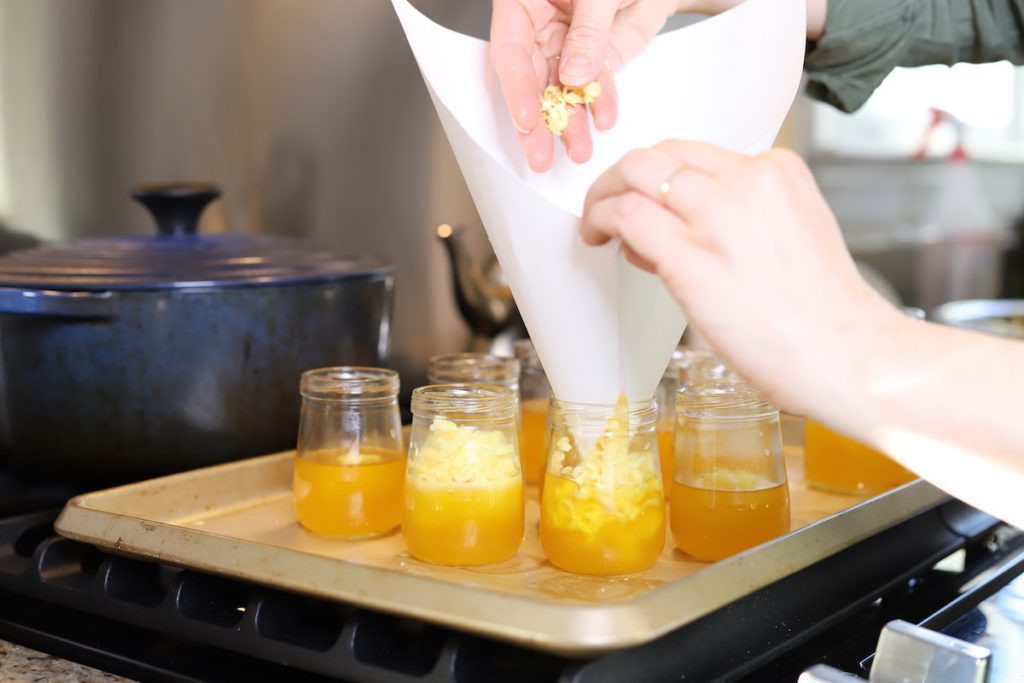
As the wax melts, you’ll need to add more. I found that I didn’t have the right size funnel for the job. If you run into the same issue, just roll a piece of printer paper into a cone and carefully use to top off the wax. I had to repeat this process three times to fill my little jars. It will be different for you depending on the size of your jars and what wax you decided to use. Just set a timer ever 20 minutes or so to check.
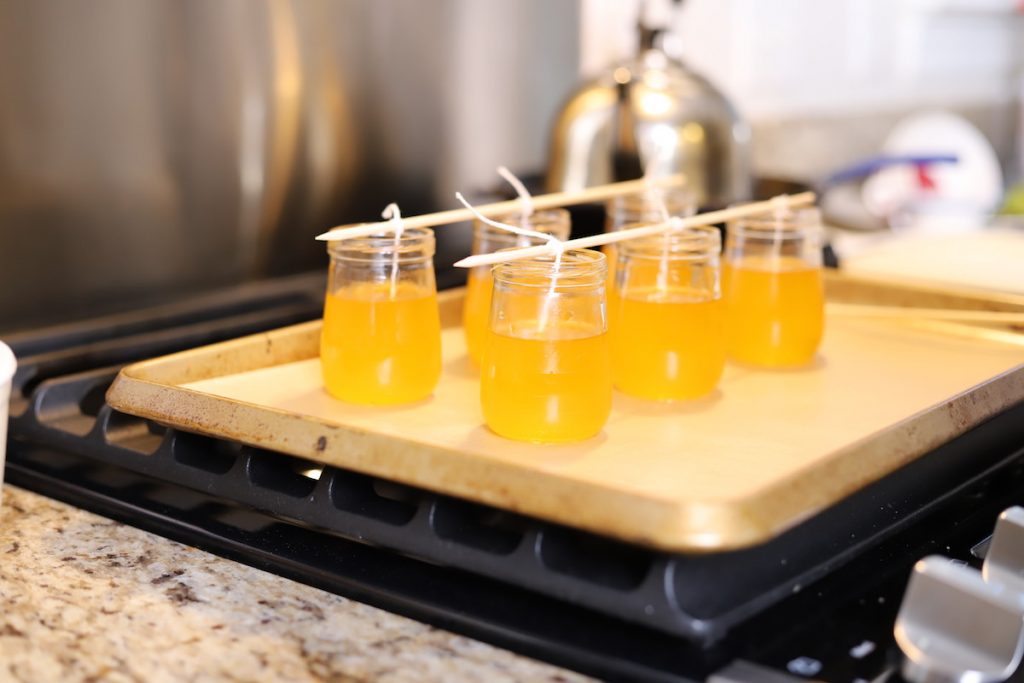
When there is enough melted wax in each jar, pull the candles out of the oven. If you are planning to add essential oils, now it the time to do it. Add about 10-30 drops depending on the size of your candle and use a skewer to gently stir the oil into the wax before placing your wicks. You want the wicks as close to the center and as deep into the jar as possible.
Let them cool.
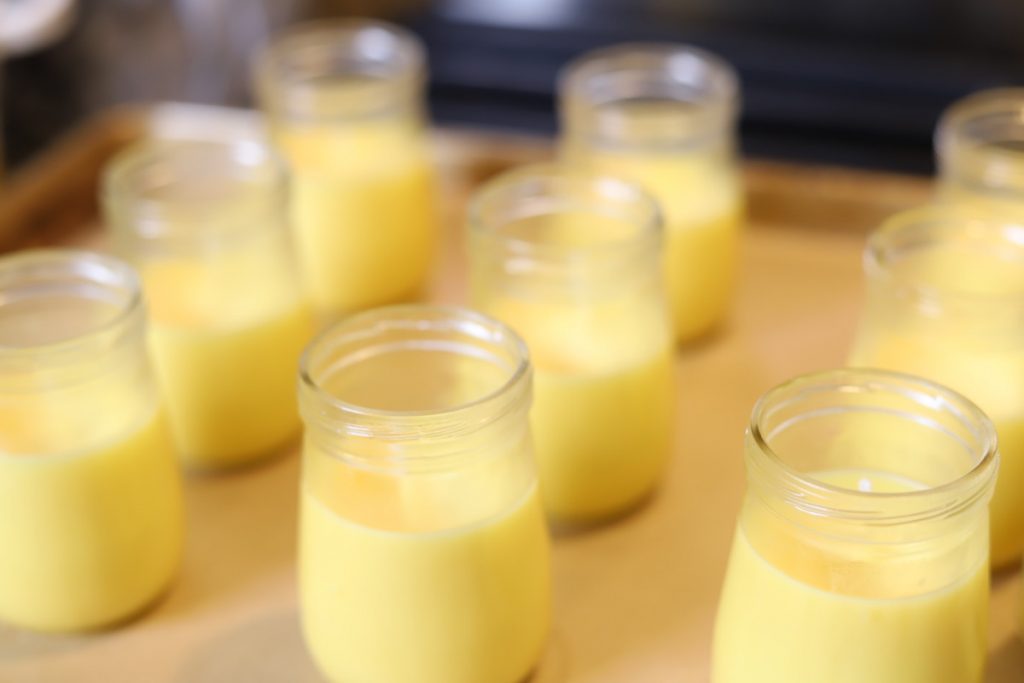
Let the candles cool and harden for 24 hours before burning.
Handmade things are extra special! I’m sure, just like my little girl, you’ll enjoy your beeswax candles that much more knowing that you made them yourself!
Tips
Whatever container you choose for your candles, be sure it has a wide mouth. It’ll be much easier to place your wick.
Beeswax can be purchased in both white and yellow. Pick your favorite!
If you have trouble getting the wick go in strait you can use another skewer to coax the wick downward. Just do the best you can. There is beauty to be found in the imperfection of handmade items.
How to Make Beeswax Candles- the Easy Way!

Don't you love the warm glow of a beeswax candle? Did you know they're simple to make? Give it a try the easy way and enjoy the beauty in these handmade candles.
Ingredients
- Beeswax pellets
- Shallow, wide mouth jars that are oven safe
- Individual candle wicks
Instructions
Preheat the oven to 200° F.
Fill the jars with beeswax pellets and place them on a parchment- lined baking sheet.
Place them in the oven and check every 20-30 minutes for 1-2 hours adding more wax as needed.
When you have reached the desired amount of melted wax, remove from the oven.
Add 10-30 drops of essential oils depending on the size of your candles.
Place wicks as close to the center as possible.
Allow candles to cool and harden for 24 hours before burning.
Notes
Choose wide mouth containers fror your candles. It will be easier to get the wicks in.
Beeswax pellets come in white and yellow. Pick your favorite!
If you have trouble getting the wick go in strait you can use another skewer to coax the wick downward. Just do the best you can. There is beauty to be found in the imperfection of handmade items.
Leave a Reply